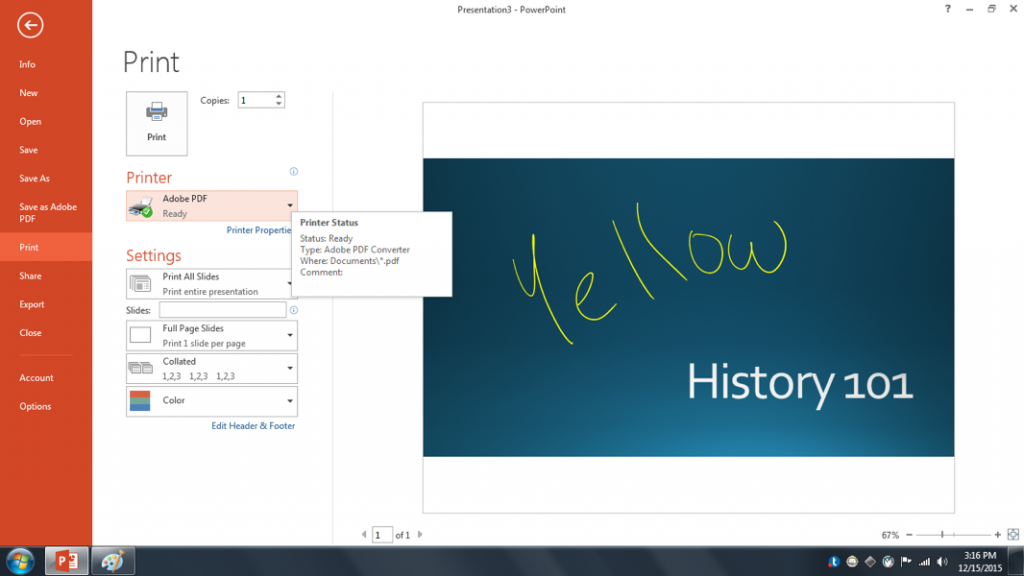
When used as instructor displays in classrooms, Wacom Interactive Pen Displays allow the instructor to annotate presentations using the supplied pen and Microsoft Ink to mark on the screen. After the presentation has concluded, you are given the option of saving your annotations with your presentation.
Pen Features (from Wacom Manual, p.11)
The Wacom Pen can be used to draw on the screen, and it can be used in place of the computer mouse.
- Eraser: When brought within proximity of the pen display (5 mm (0.2 inch)), the tablet portion of the display reports the pen location. Pressure information is reported as you press down on the eraser.
- By default, the eraser function is set to ERASE.
- Some pens may be configured with a pen tether connection point.
- DuoSwitch (side switch): Be sure the programmable switch is in a convenient location where you can toggle it with your thumb or forefinger but not accidentally press it while using the pen. You can use the switch whenever the pen tip is within proximity of the display screen surface; you do not need to touch the pen tip to the display surface.
- Toggle the switch in either direction to activate the button functions.
- By default, the upper switch is set to DOUBLE CLICK and the lower switch is set to RIGHT CLICK.
Microsoft Ink
Microsoft Ink is installed on classroom machines. To access MS Ink options in PowerPoint, go to Presentation mode. The tool icons will appear below your slide.

- The left and right arrow icons are for slide control.
- The icon that looks like a pen will reveal various annotation tools when you click or hover.
- The first option is a laser pointer effect. When chosen, the cursor will display as a laser pointer would.
- The next option is a Pen tool.
- The next available tool is the highlighter. The Highlighter tool allows you to highlight selected areas onscreen.
- Below the writing tools is ink color, where you can choose a color to apply.
- The next tool icon allows you to display all of your slides in a tiled manor.
- The next tool icon is the magnifying glass. Clicking this tool will increase the magnification of the display, which is draggable. As you drag the area about on the screen, the image is magnified.
- The screen icon allows you to hide or blackout your slide.
- The circle with the three dots displays more options.
Saving Your Annotations
When you have finished your presentation and you click End Show or Escape, you will be given the option of saving your annotations. If you choose yes, they will be added to your PowerPoint file.
To save your PowerPoint presentation and annotations as a PDF document, choose Print to PDF from the PowerPoint File menu.
